I’ve been using MidJourney for nearly half a year, and it’s been an exciting journey, bringing my ideas to life with the help of this powerful AI tool. While it’s very simple to generate excellent images with Midjourney, getting the LLM to produce a specific composition can be challenging. The platform’s ability to interpret and translate text into stunning visuals is remarkable, but there is a learning curve to communicating with a machine learning model.
While working in AI at HBS, I’ve heard varying opinions regarding prompt engineering. Some argue that investing in prompt engineering is unnecessary, believing that as large language models evolve, they will become more conversational and intuitive. Others, like me, still value teaching people how to develop their prompt engineering skills. Even as LLMs improve, knowing how to communicate effectively with these models can make a noticeable difference in outcomes. While I agree that there won’t be dedicated job titles like “Prompt Engineer,” I see it as a critical skill that can significantly contribute to a person’s career.
To illustrate, consider the skill of public speaking. There isn’t a specific job title called “Public Speaker,” but many professionals have built their careers around mastering this skill. It’s the same with prompt engineering: it’s a tool that, when honed, can open new opportunities and help you achieve your goals.
At its core, prompt engineering is a form of communication, but instead of interacting with people, you’re working with large language models. Each task you approach with an LLM requires a slightly different strategy, much like tailoring your communication to different audiences. In this post, I’ll share some of the strategies I’ve developed for generating images with MidJourney, which have helped me refine my prompts and get closer to the results I’m after.
And for inspiration, I’ll showcase a gallery of my favorite creations at the end. Whether you’re a seasoned AI enthusiast or new to this platform, I hope my experiences can help you unlock even more potential in your creative journey. Let’s get started!
Tips & Tricks: Mastering Midjourney
One of the key challenges I faced early on was translating my creative ideas into precise prompts that MidJourney could interpret correctly. It wasn’t enough to describe what I wanted; I had to think about how the AI would understand and interpret the instructions. Unlike working with a human artist, where you can give nuanced feedback and expect adjustments, working with an AI requires refining your input until it aligns with your vision.
At first, this felt frustrating. I would have a clear idea in my mind, but the output would miss the mark in ways I hadn’t anticipated—sometimes because I wasn’t specific enough, but most times, it was because I had overcomplicated the description. I quickly learned that MidJourney’s power lies not in the complexity of prompts but in striking the right balance between clarity and creativity. And that leads me to tip 1.
Tip 1: Start Simple
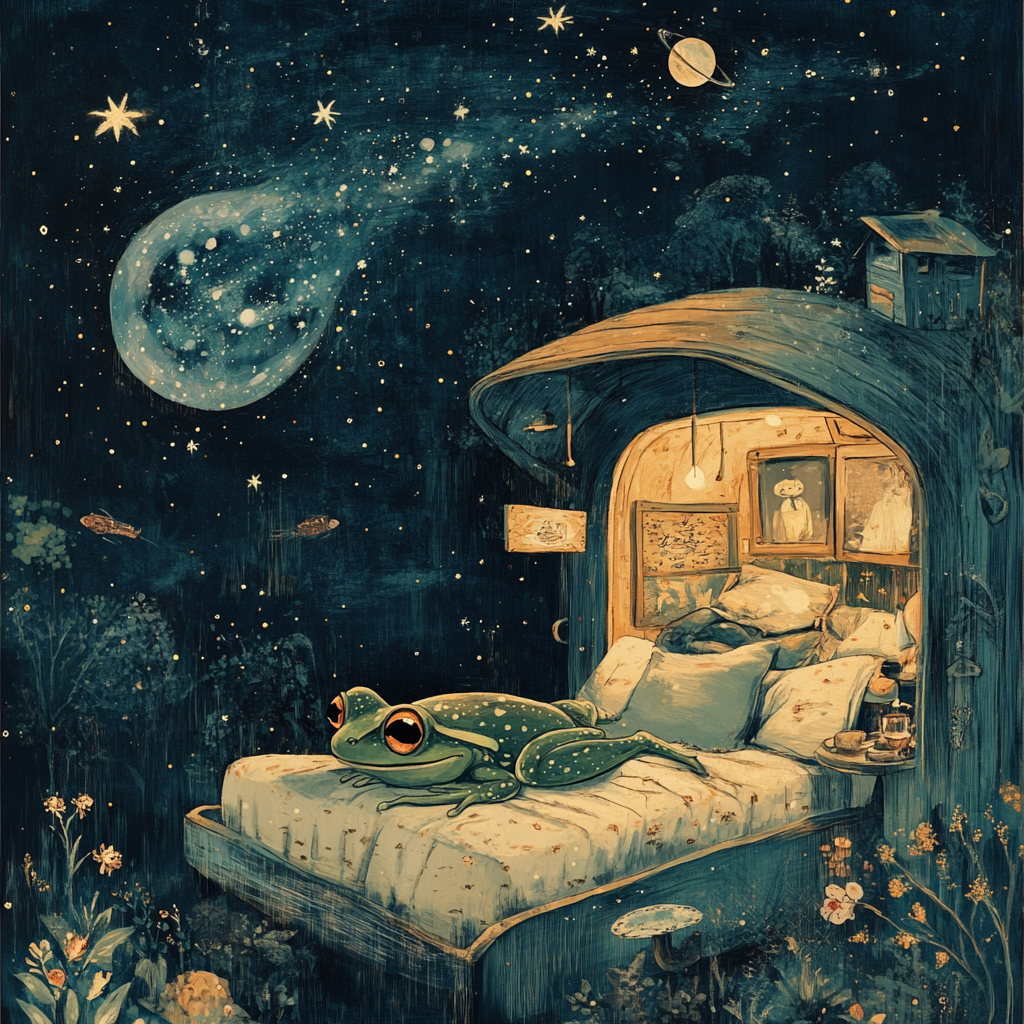
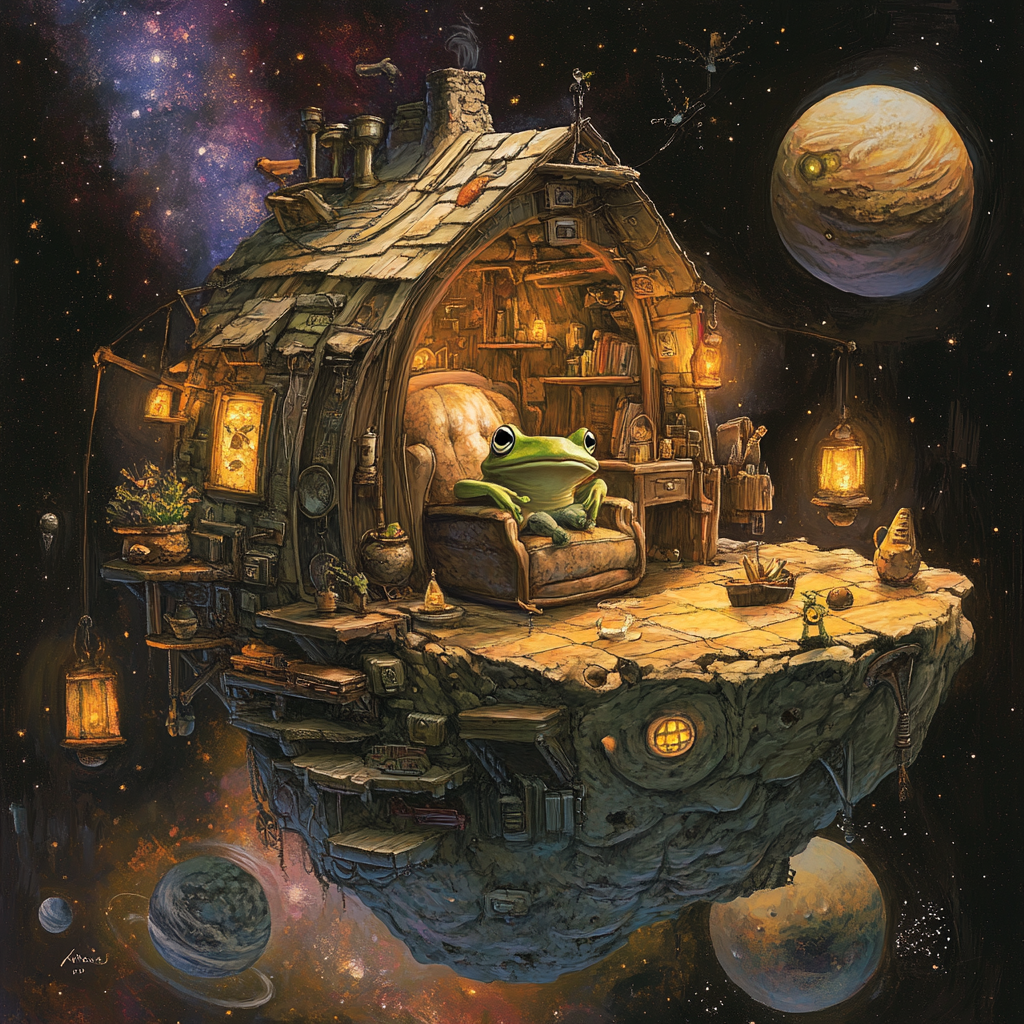
When crafting prompts for MidJourney, simplicity often leads to better results. Rather than overloading the prompt with details, focus on the core elements you want to bring to life. The AI tends to perform better when it’s given clear, concise instructions. Start with the essentials—describe the subject, setting, or mood—and then gradually add layers of detail if needed. A simple prompt can often yield surprisingly powerful visuals, while a complex one can confuse the model and result in unexpected outputs. Sometimes, to push a bit further, I’ll throw my prompt into ChatGPT and have it interpreted or elaborated on just to see what another LLM might think of my prompt.
Tip 2: Focus on What You Want, Not What You Don’t Want
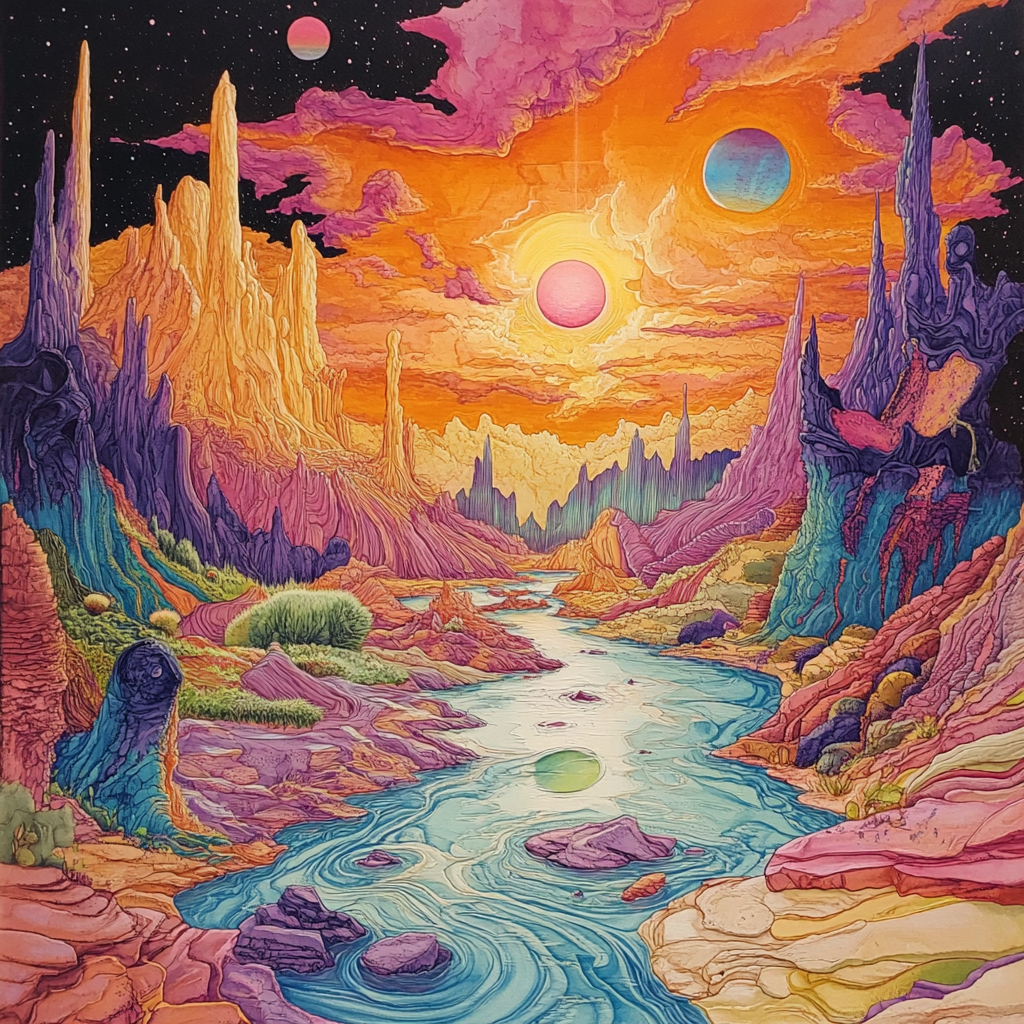
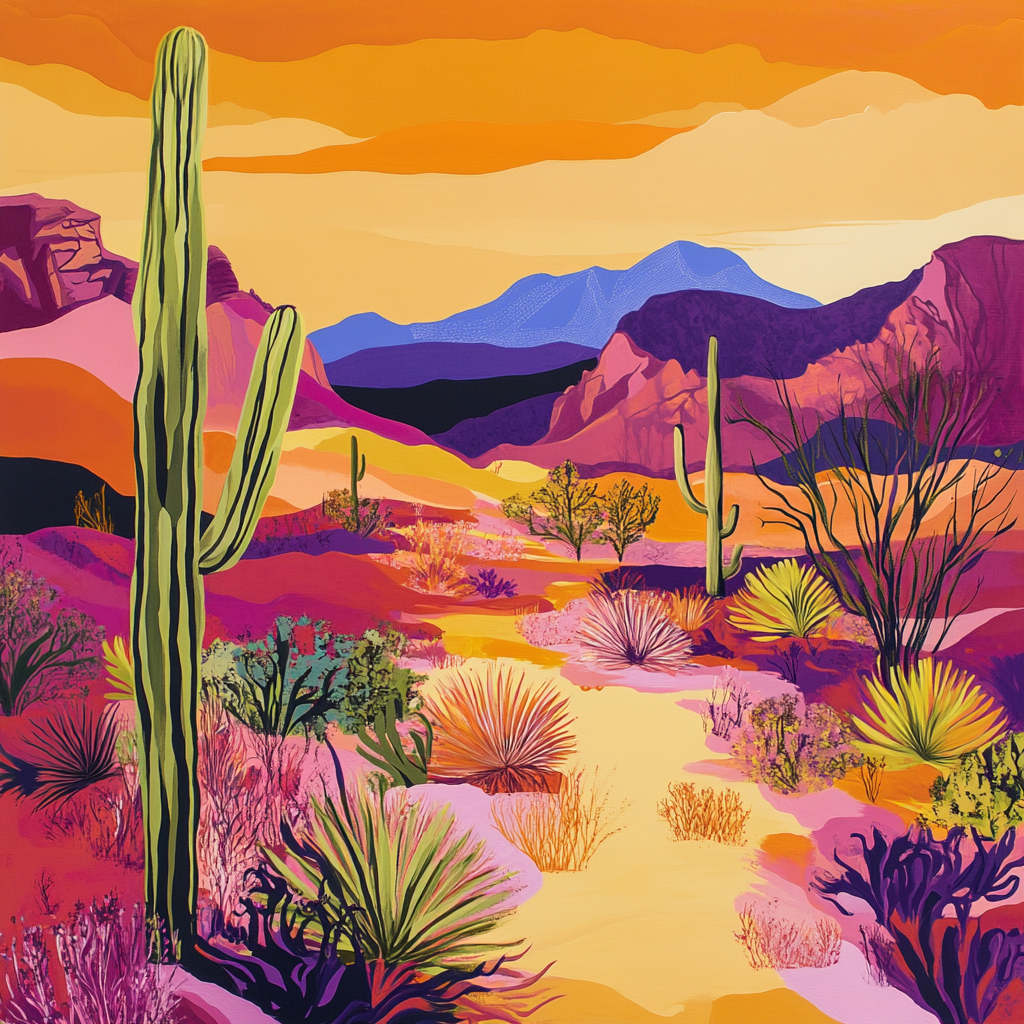
It’s easy to get caught up in listing things you want to avoid, but it’s more effective to focus on what you do want to see. If there’s something specific you want to exclude, use the “–no” parameter to tell MidJourney what to leave out, but avoid framing your entire prompt around negatives. For example, instead of saying “no water,” emphasize the elements you want in your image, like “a vibrant desert landscape.” Clear, positive prompts generally guide the model more effectively than listing out everything to avoid.
Tip 3: Use Parameters to Fine-Tune Results
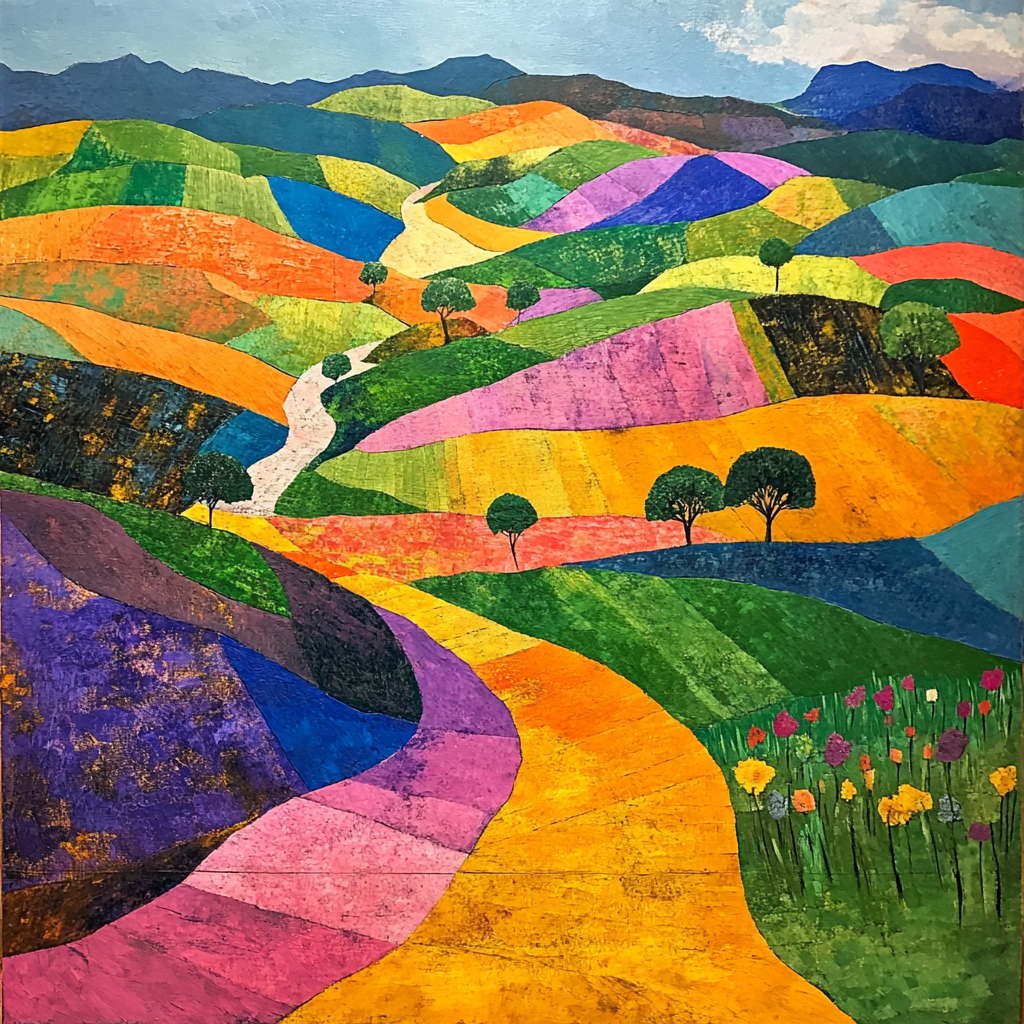
MidJourney allows you to use parameters to fine-tune your results, helping you gain more control over the output. Parameters such as aspect ratio (–ar), stylization (–s), and quality (–q) can be game-changers when you’re looking for specific visual styles or compositions. By experimenting with different parameter values, you can push the AI to generate images that are closer to your vision. For instance, the –ar parameter can adjust the image’s dimensions, while –s controls how artistic or precise the results will be. Here is a link to MidJourney’s parameter list.
Trick 4: Multi-Prompt Commands
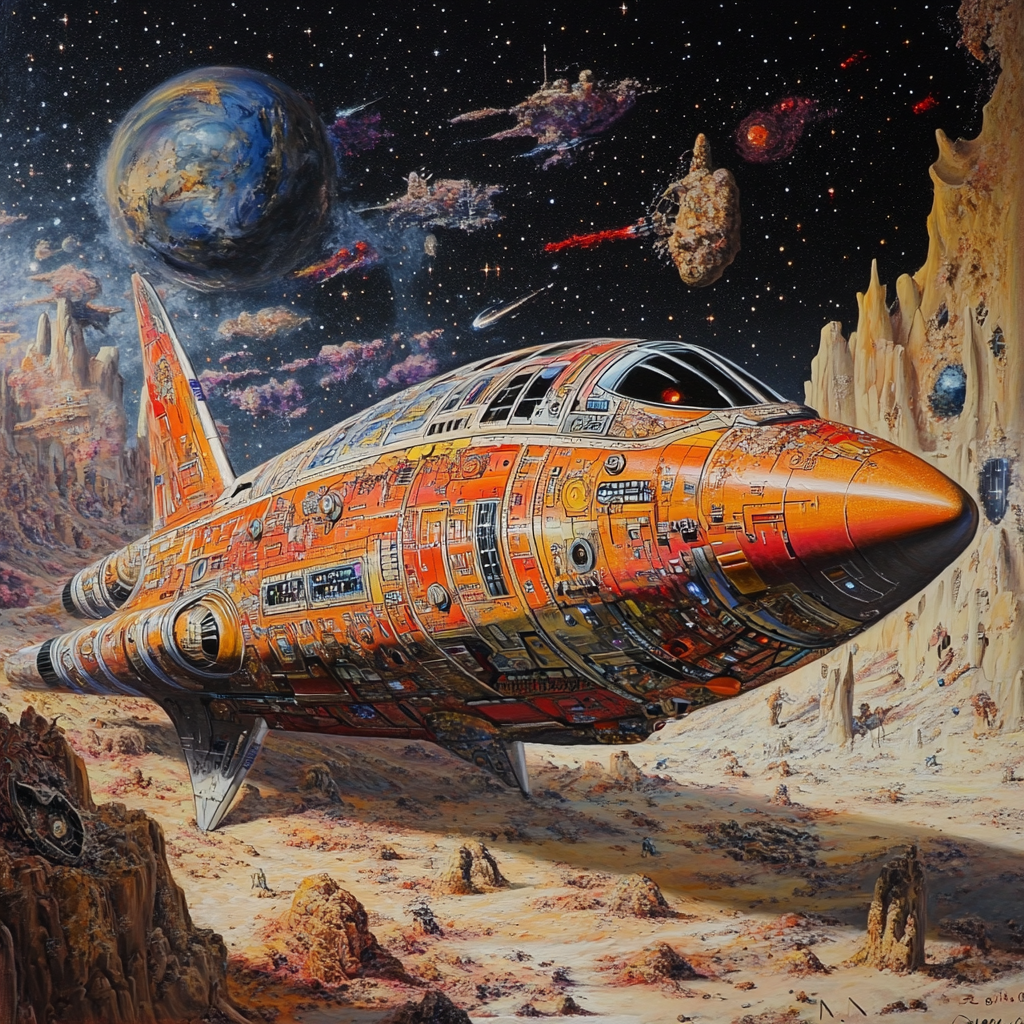
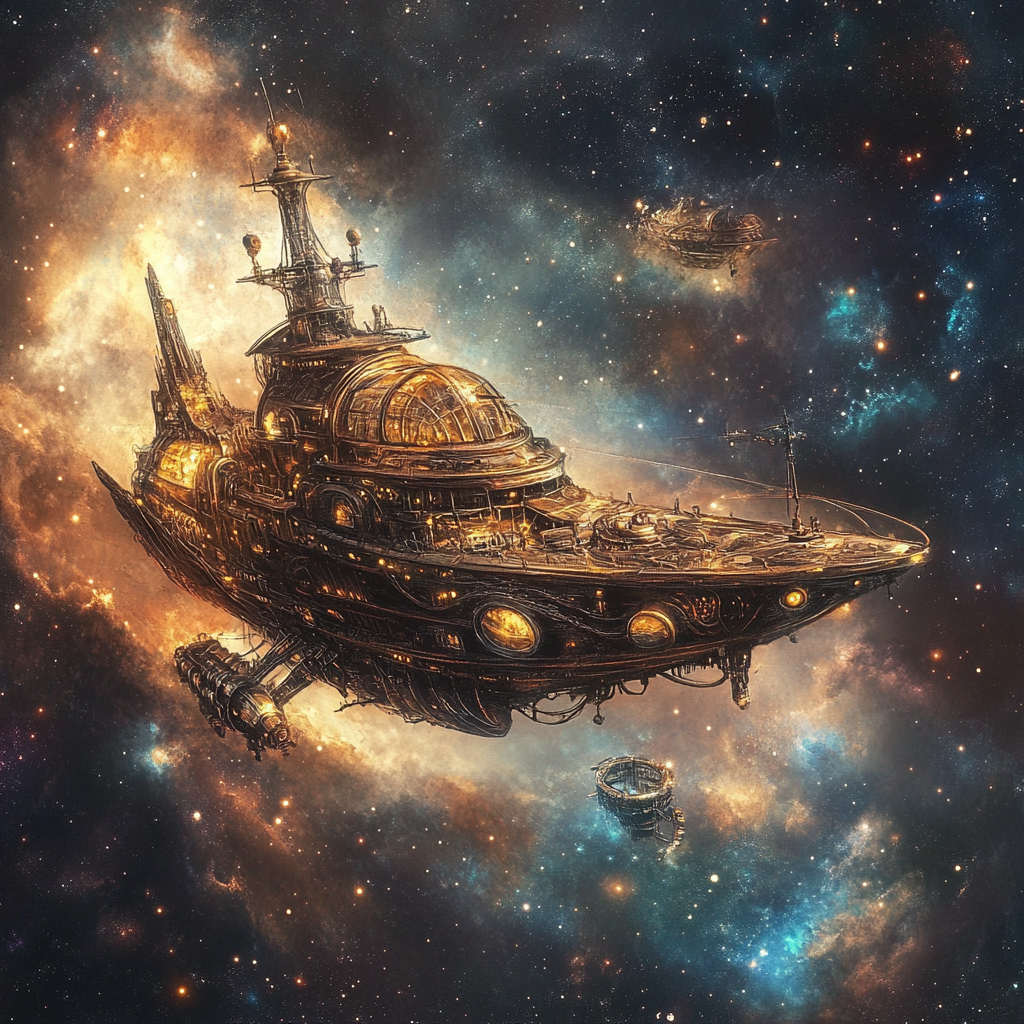
One of the most powerful features in MidJourney is the ability to combine multiple ideas into a single image through multi-prompt commands. By separating different concepts with a double colon (::), you can blend themes, styles, or objects into one cohesive visual. For example, a prompt like “a futuristic cityscape :: an ancient forest” will attempt to merge those two distinct ideas into one composition. There are some very creative things you can do with multi-prompting. One multi-prompt example I remember very well from another MidJourney expert is “space::ship.” This prompt produced a ship in space rather than a spaceship in outer space. This feature is especially handy for creating unique combinations that stretch the boundaries of creativity and imagination. Go crazy.
Trick 5: Remix Mode
Remix Mode allows you to tweak and reimagine an existing image by adjusting the prompt or modifying the composition. Once activated, you can remix generated images to make subtle or drastic changes, refining them to match your creative vision. This is particularly helpful if you like an image’s overall feel but want to improve certain aspects, such as color, detail, or layout. With Remix Mode, the image creation process becomes more interactive and dynamic, giving you greater flexibility to explore variations of your favorite creations. My favorite example is by Daniel Nest. I’ll link his post here. Make sure to check it out!
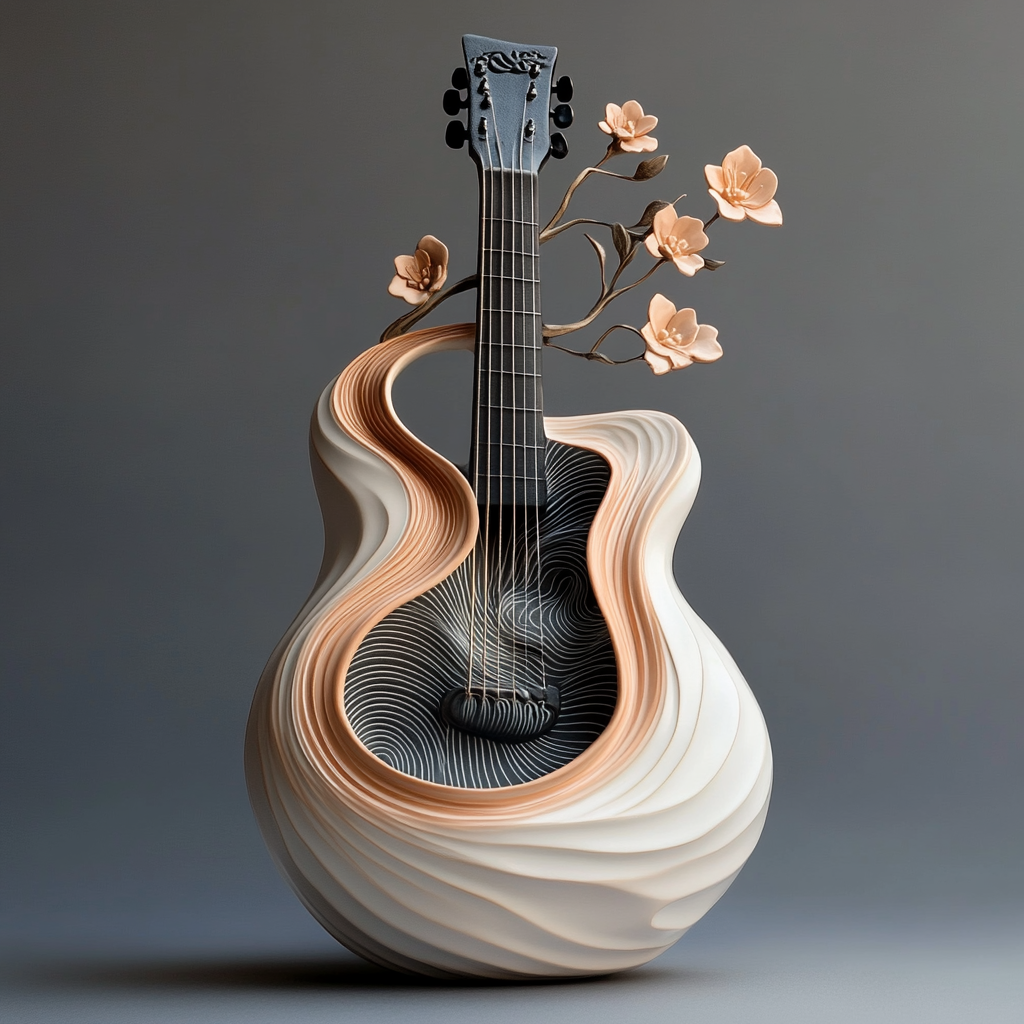
I hope these tips and tricks help you get the most out of MidJourney and make your creative process a little smoother. While it takes practice to master prompt engineering, even small tweaks can make a big difference in the final result. The key is to stay curious, experiment with different approaches, and not be afraid to refine your prompts until you get the image you’re after. Once you began to grasp how MidJourney interprets language, the process became much more intuitive. You’ll realize that part of the fun is in the experimentation itself. I find it fun to allow the AI to surprise me with its interpretations and then refine from there. I’ve shared some of my favorite strategies and encourage you to try them out in your projects. Happy creating!

